
Canvas
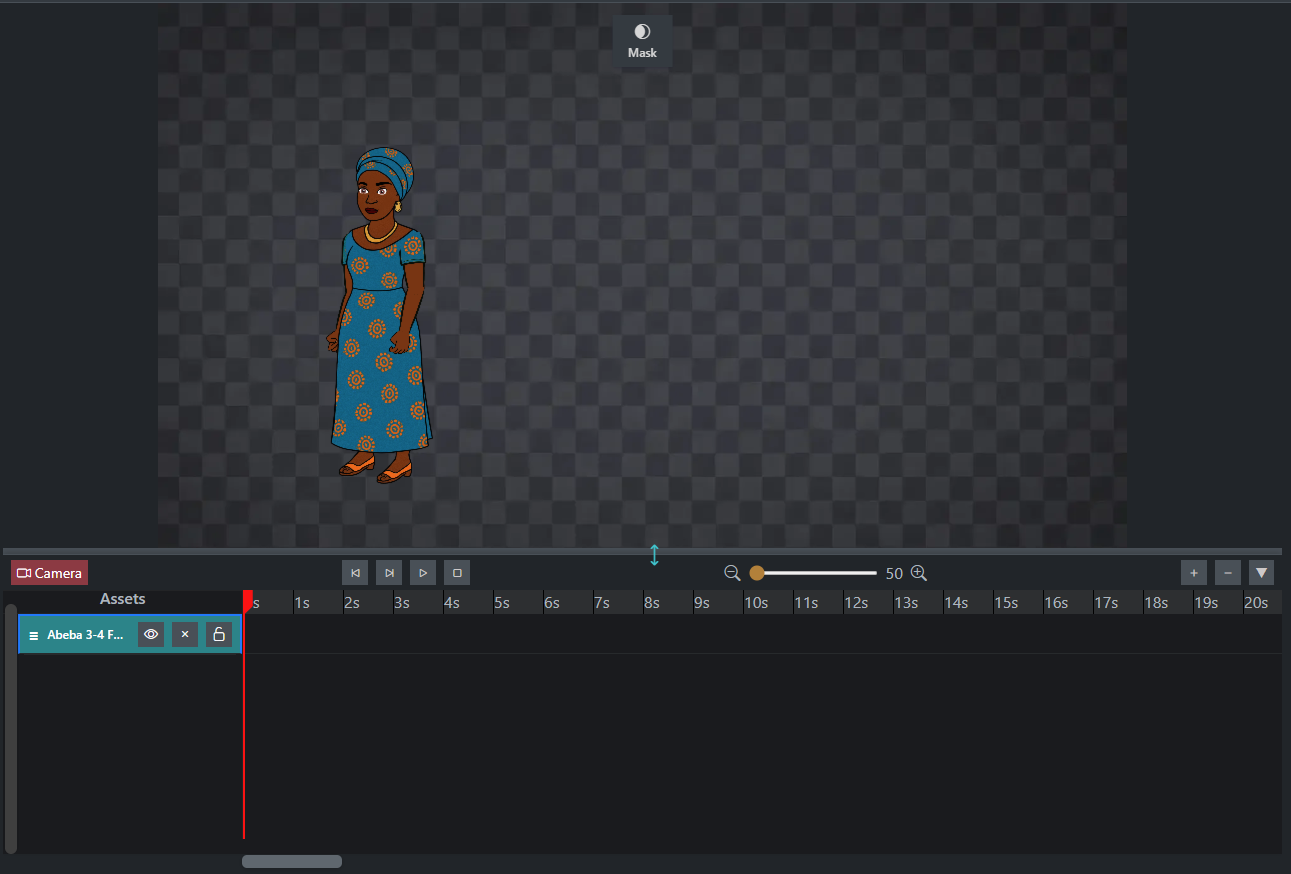
The Canvas is the primary workspace in STPro Animator where users build and preview their animation scenes.
All visual elements such as characters, backgrounds, props, images, videos, and effects are placed and arranged inside the Canvas.
The Canvas provides a real-time view of how the final animation will appear during playback and rendering.
Purpose of the Canvas
Section titled “Purpose of the Canvas”The Canvas helps users:
- Build animation scenes
- Position characters and assets
- Arrange scene composition
- Preview animations
- Create visual storytelling
- Review changes in real time
It serves as the central editing area for animation production.
Accessing the Canvas
Section titled “Accessing the Canvas”The Canvas is located in the center of the STPro Animator workspace.
When a project is opened, the Canvas becomes available automatically.
Users can begin creating scenes by adding assets from:
- Characters
- Library
- My Assets
- Project Scenes

Elements Supported on the Canvas
Section titled “Elements Supported on the Canvas”Users can place various asset types on the Canvas, including:
- Characters
- Backgrounds
- Props
- Images
- Videos
- Overlays
- VFX Assets
Each element can be positioned and customized independently.
Adding Assets to the Canvas
Section titled “Adding Assets to the Canvas”To add an asset:
- Open a library category.
- Select an asset.
- Click or drag it into the Canvas.
- Position it as required.
The asset immediately becomes part of the active scene.
Working with Characters
Section titled “Working with Characters”Characters can be added directly to the Canvas.
After adding a character, users can:
- Apply animations
- Create FK animations
- Adjust properties
- Change expressions
- Attach props
Multiple characters can be used within the same scene.
Working with Backgrounds
Section titled “Working with Backgrounds”Backgrounds define the environment of a scene.
Common examples include:
- Offices
- Classrooms
- Homes
- Outdoor environments
- Business settings
Backgrounds typically serve as the base layer of the Canvas.
Working with Props
Section titled “Working with Props”Props can be added to enhance storytelling.
Examples include:
- Furniture
- Laptops
- Books
- Vehicles
- Decorative items
Props can be positioned anywhere on the Canvas.
Selecting Objects
Section titled “Selecting Objects”Users can select any asset directly from the Canvas.
When selected:
- A bounding box appears
- Property controls become available
- Animation options become accessible
Only the selected object receives editing changes.
Mask Tool
Section titled “Mask Tool”The Canvas includes a Mask tool that allows users to make a selected area transparent.
The Mask button is available directly on the Canvas and can be used to hide unwanted portions of an asset without permanently modifying the original file.

Applying a Mask
Section titled “Applying a Mask”To apply a mask:
- Select an asset on the Canvas.
- Click the Mask button.
- A mask adjustment panel appears.
- Use the slider to control the mask value.
- Preview the transparency effect.
- Click Apply Mask to confirm the changes.
Users can also click Discard to cancel the operation without applying any changes.
Mask Controls
Section titled “Mask Controls”The Mask panel contains:
- Value Slider – Controls the amount of masking.
- Apply Mask – Applies the mask to the selected asset.
- Discard – Cancels the current mask operation.
Use Cases
Section titled “Use Cases”The Mask tool can be used to:
- Make selected areas transparent.
- Hide unwanted portions of images or assets.
- Create custom compositions.
- Blend assets into backgrounds.
- Produce creative visual effects.
Note
The Mask tool affects only the selected asset. The original asset remains unchanged, and the mask can be adjusted before clicking Apply Mask.
Moving Objects
Section titled “Moving Objects”Objects can be repositioned freely within the Canvas.
Users can:
- Move left
- Move right
- Move up
- Move down
Position changes can also be animated using keyframes.
Scaling Objects
Section titled “Scaling Objects”Assets can be resized directly from the Canvas or through the Properties panel.
Users can:
- Increase size
- Reduce size
- Match scene perspective
- Create depth effects
Rotating Objects
Section titled “Rotating Objects”Objects can be rotated to improve scene composition.
Rotation is useful for:
- Character posing
- Prop placement
- Dynamic visual layouts
Rotation changes can also be keyframed.
Layering Objects
Section titled “Layering Objects”The Canvas supports layer-based scene composition.
Users can place assets:
- In front of other objects
- Behind other objects
Proper layering creates realistic scene depth.
Canvas and Timeline Integration
Section titled “Canvas and Timeline Integration”The Canvas is directly connected to the Timeline.
When users:
- Add keyframes
- Apply animations
- Change positions
- Modify properties
The corresponding updates are reflected in the Timeline.
Timeline playback updates the Canvas in real time.
Real-Time Scene Preview
Section titled “Real-Time Scene Preview”The Canvas continuously updates while editing.
Users can instantly review:
- Character movements
- Animation changes
- Property adjustments
- Scene composition
- Visual effects
This allows faster editing and refinement.
Best Practices
Section titled “Best Practices”For better scene design:
- Keep layouts organized
- Avoid overcrowding scenes
- Maintain visual balance
- Preview animations regularly
- Use proper layering
These practices improve animation quality and readability.
Benefits of the Canvas
Section titled “Benefits of the Canvas”The Canvas provides:
- Real-time editing
- Visual scene construction
- Direct asset manipulation
- Animation previewing
- Timeline integration
- Efficient workflow management
Summary
Section titled “Summary”The Canvas is the main scene-building workspace in STPro Animator where users place, arrange, and animate characters, backgrounds, props, images, videos, and effects. It provides real-time visual feedback and works closely with the Timeline to help users create professional animation projects efficiently.
Next Step
Section titled “Next Step”Continue to the next section to learn:
- Timeline
- Keyframes
- Animation tracks
- Scene timing
- Playback controls