
Human Lite
The Human Lite section allows users to import and use custom character charts in .webp format.
Human Lite characters are lightweight character assets that can be customized and reused in projects.
Note
Importing Human Lite characters is available only for users with an active subscription.
Importing Human Lite Characters
Section titled “Importing Human Lite Characters”Users can import character charts in .webp format.
To import a character:
- Open My Assets.
- Select Human Lite in Human.
- Import the
.webpcharacter chart. - Complete the upload process.
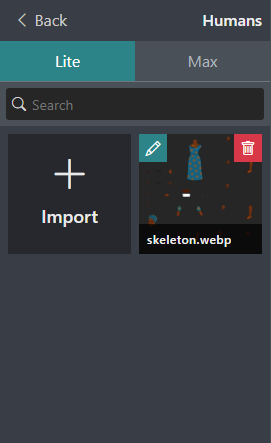
After importing, the character becomes available under:
My Assets└── Human └── Human LiteImported characters can be added and used like other character assets.
Editing a Human Lite Character
Section titled “Editing a Human Lite Character”To customize an imported character:
- Open My Assets → Human → Human Lite.
- Locate the imported character.
- Click the Edit button.
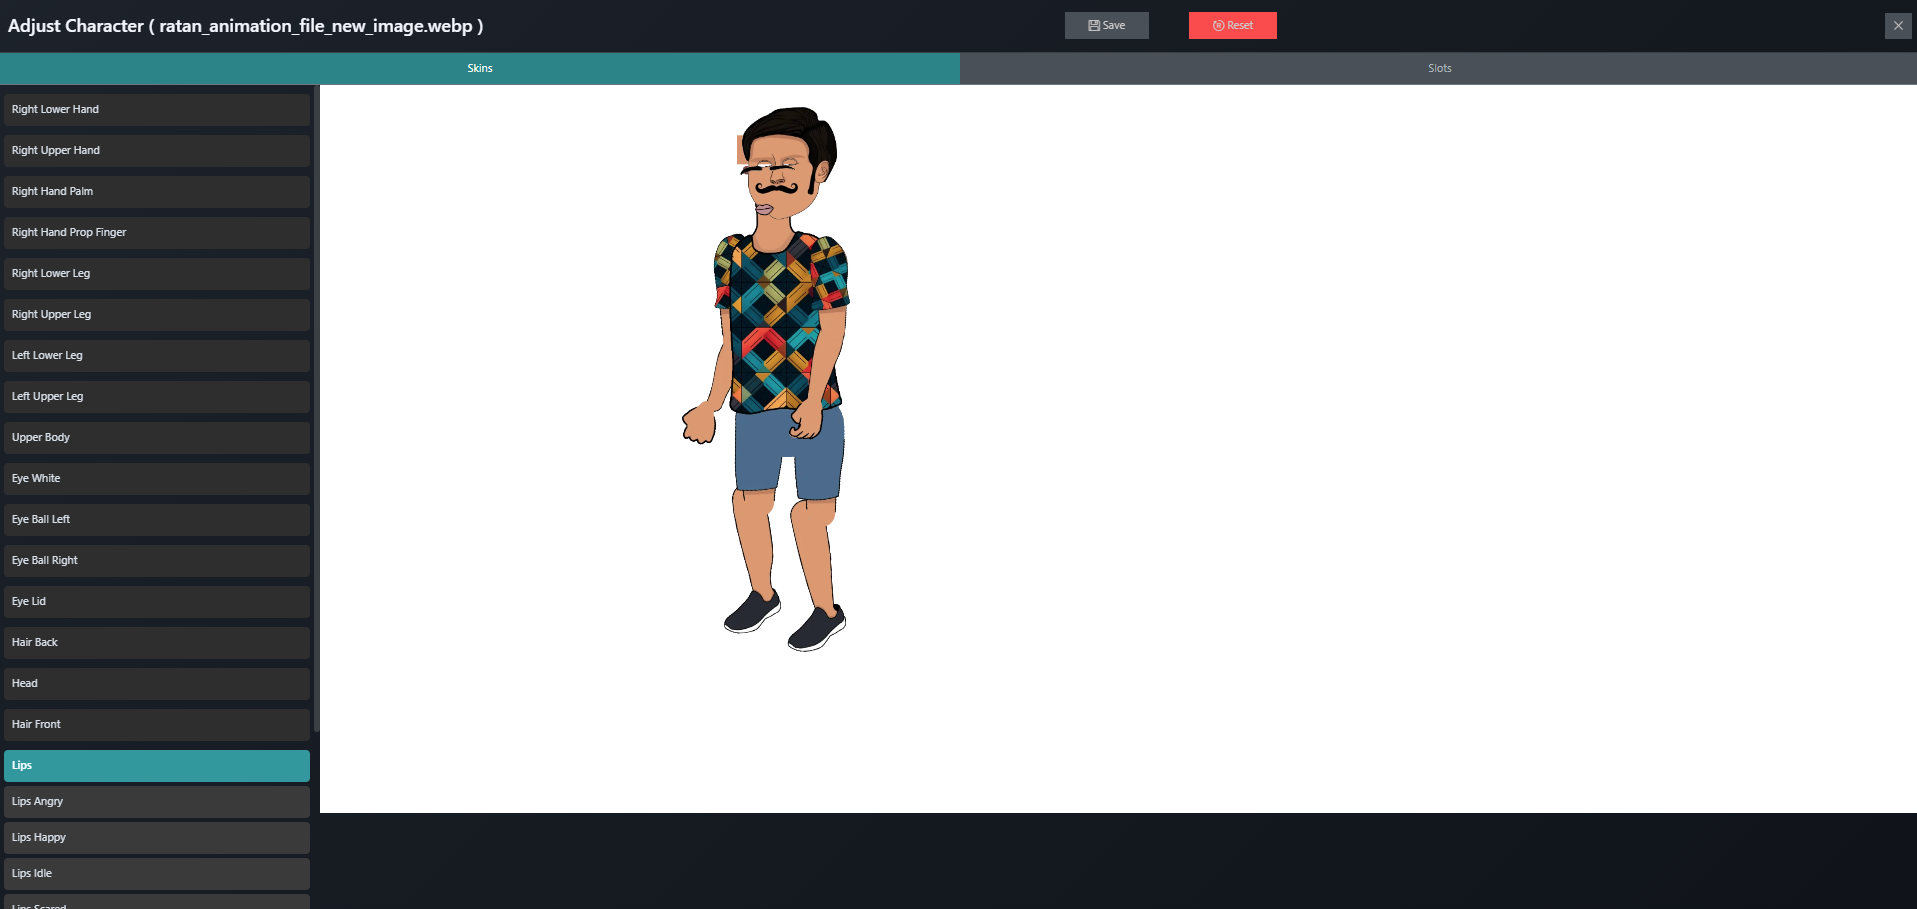
- The Character Editor page will open.
The editor consists of four main sections:
- Top Bar
- Right Panel
- Main Canvas
- Left Panel
Top Bar
Section titled “Top Bar”The top bar contains:
- Character Name
- Save
- Reset
- Close (✕)
Character Name
Section titled “Character Name”Displays the current character name.
Users can rename the character at any time.
Saves all changes made to the character.
Restores the character to its original imported state.
Close (✕)
Section titled “Close (✕)”Closes the editor and returns to the previous page.
Main Canvas
Section titled “Main Canvas”The center area displays the character preview.
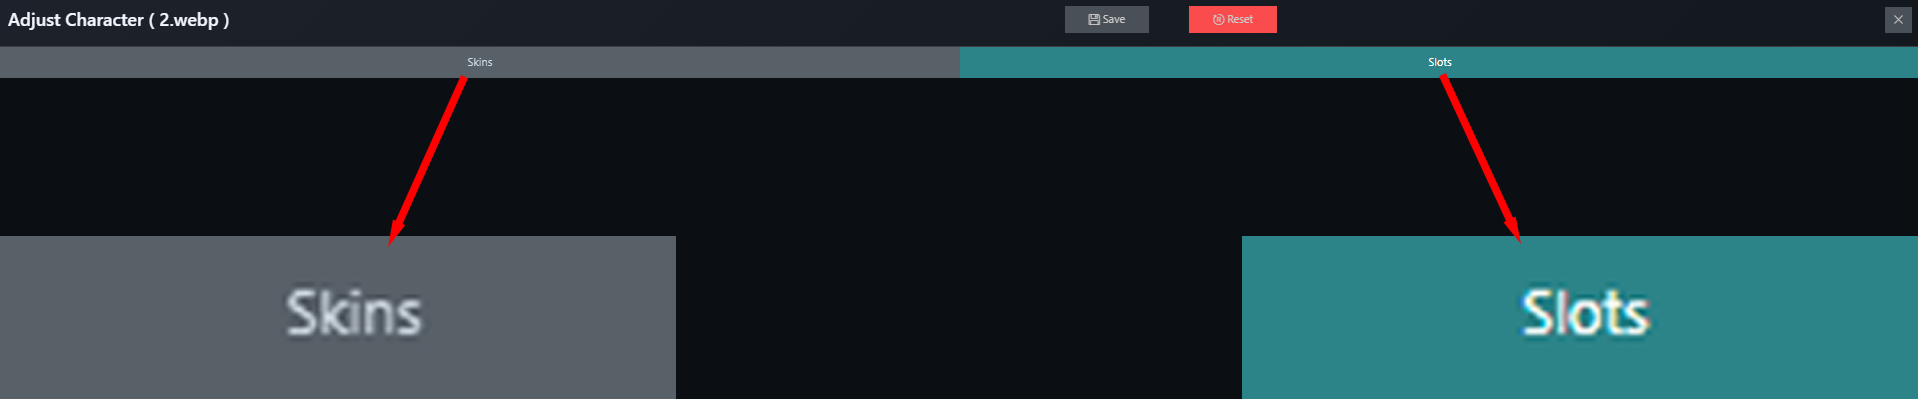
The Main Canvas contains two sections:
- Skins
- Slots
Changes made in the editor are reflected in real time on the canvas.
Skins represent individual body parts and character components.
Examples include:
- Lips
- Right Hand
- Left Hand
- Head
- Hair Front
- Hair Back
- Eyes
- Upper Body
- Legs
A selected skin can be repositioned and adjusted using the Left Panel controls.
Slots determine the rendering order of character layers.
Examples include:
- Hair
- Eyes
- Hands
- Body Parts
- Accessories
Changing slot order affects which layers appear in front or behind others.
Right Panel
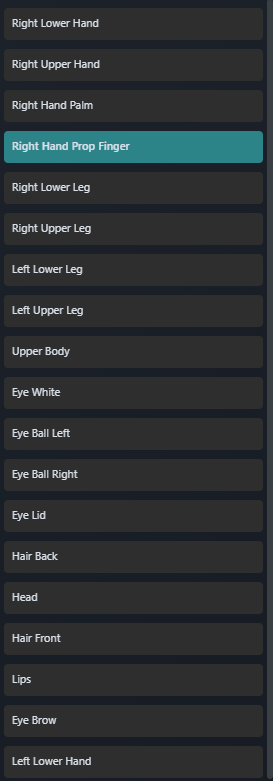
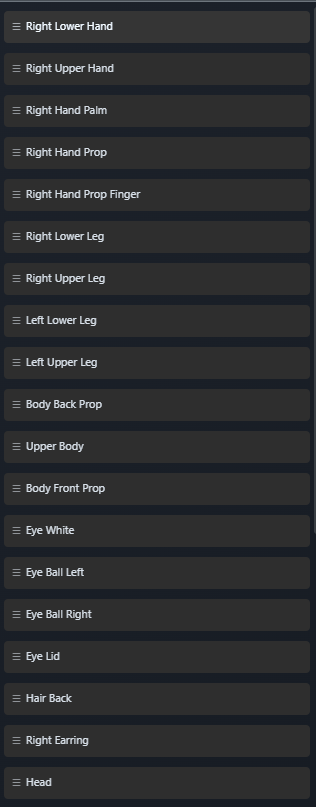
Section titled “Right Panel”- The Right Panel contains all available slots (layers).
- Skins
Users can:
- Move layers upward
- Move layers downward
- Change layer hierarchy
Layer Order
Section titled “Layer Order”-
When a layer is moved upward in the list, that layer becomes visible behind other layers in the Main Canvas.
-
When a layer is moved downward in the list, that layer becomes visible in front of other layers.
This allows users to control how body parts and accessories overlap.
Left Panel
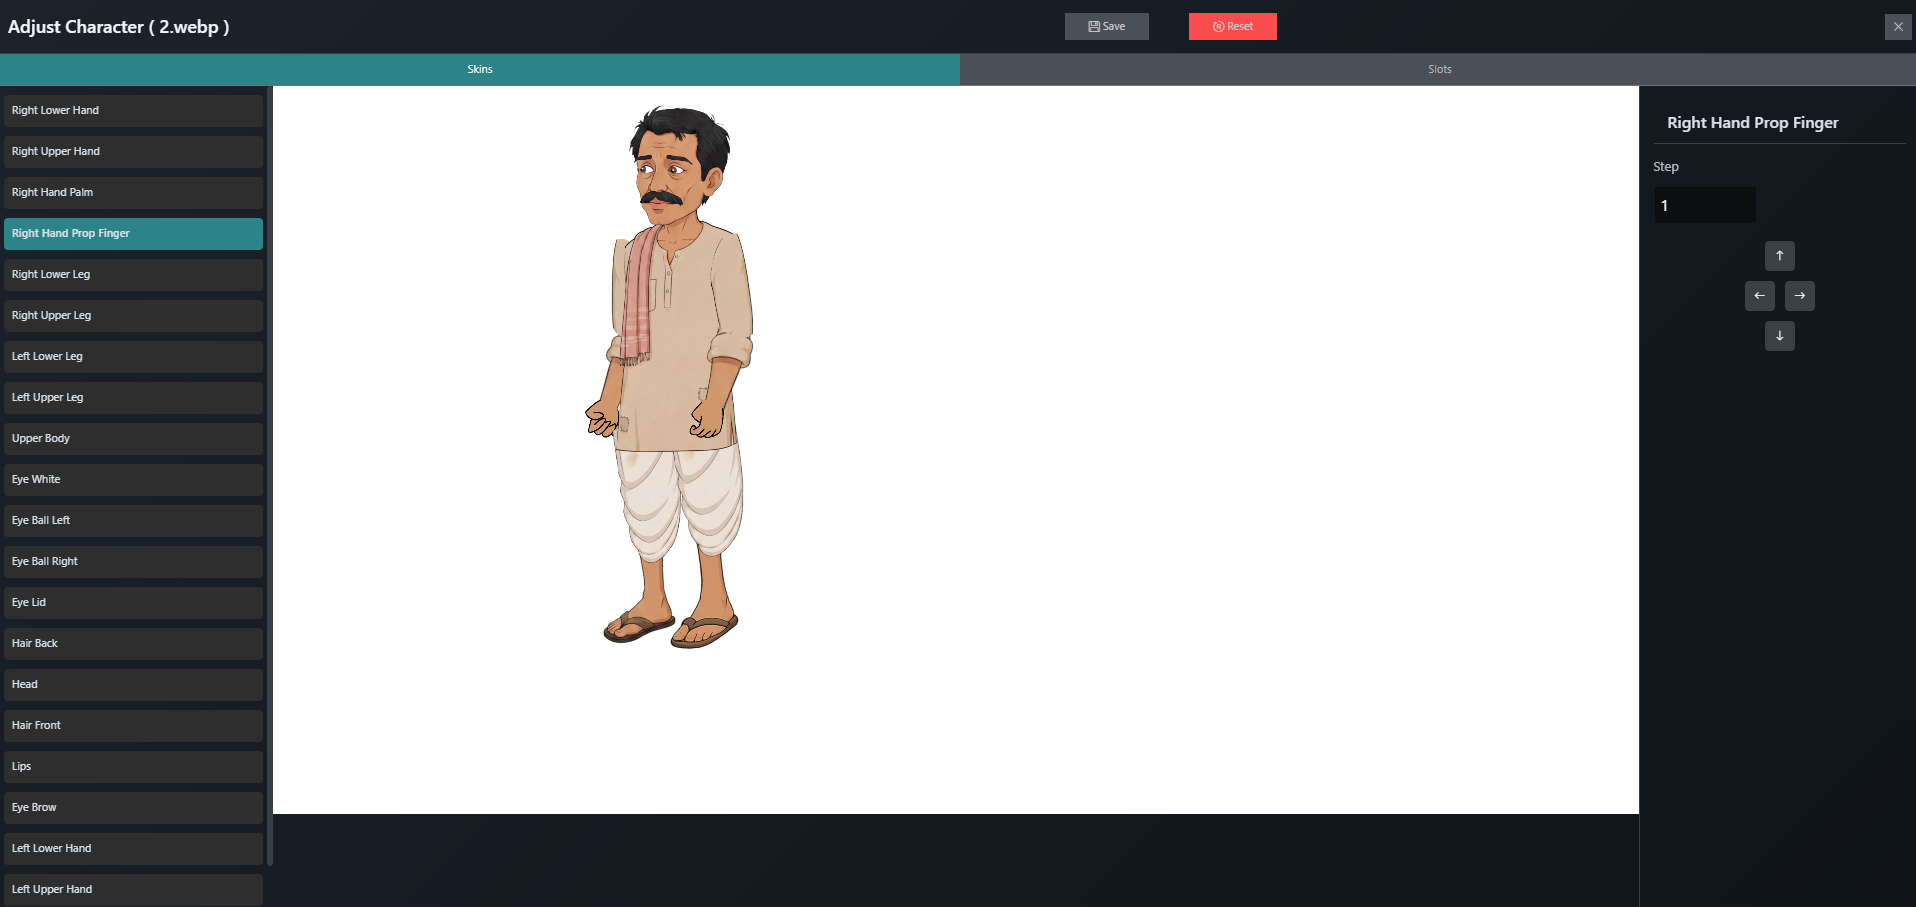
Section titled “Left Panel”The Left Panel provides controls for adjusting the selected skin.
Available controls include:
- Step value
- Direction arrows
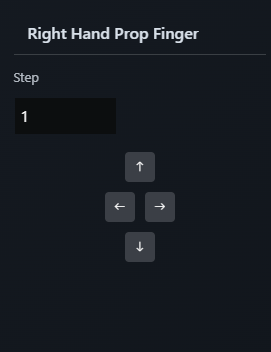
The step value controls the movement speed or adjustment distance for the selected skin.
Larger values produce larger movements.
Smaller values allow more precise adjustments.
Arrow Controls
Section titled “Arrow Controls”These controls allow users to reposition body parts according to the supported character structure.
Note
Arrow behavior depends on the underlying backend data.
example : right arrow might move the part up, down, left, right.
Saving Changes
Section titled “Saving Changes”After completing customization:
- Click Save in the top bar.
- The updated character configuration is stored.
- The character remains available under:
My Assets└── Human └── Human LiteSaved characters can be used in scenes like any other STPro character.
Benefits of Human Lite
Section titled “Benefits of Human Lite”Human Lite provides:
- Custom
.webpcharacter support - Reusable character assets
- Layer ordering controls
- Skin customization
- Character editing tools
- Persistent saved configurations
- Integration with My Assets
Summary
Section titled “Summary”The Human Lite section enables subscribed users to import .webp character charts, customize individual skins and layer order, and save personalized characters for future use. The editor provides controls for slots, skins, and positioning, allowing users to create and manage reusable custom characters inside STPro Animator.
Next Step
Section titled “Next Step”Continue to the next section to learn about:
- Canvas workspace overview
- Scene editing and object placement
- Selecting and transforming assets
- Working with the scene area
- Character positioning and manipulation
- Layer arrangement and object interaction
- Building complete animation scenes